
Corporate Event Décor & Styling: Build a Coherent Brief
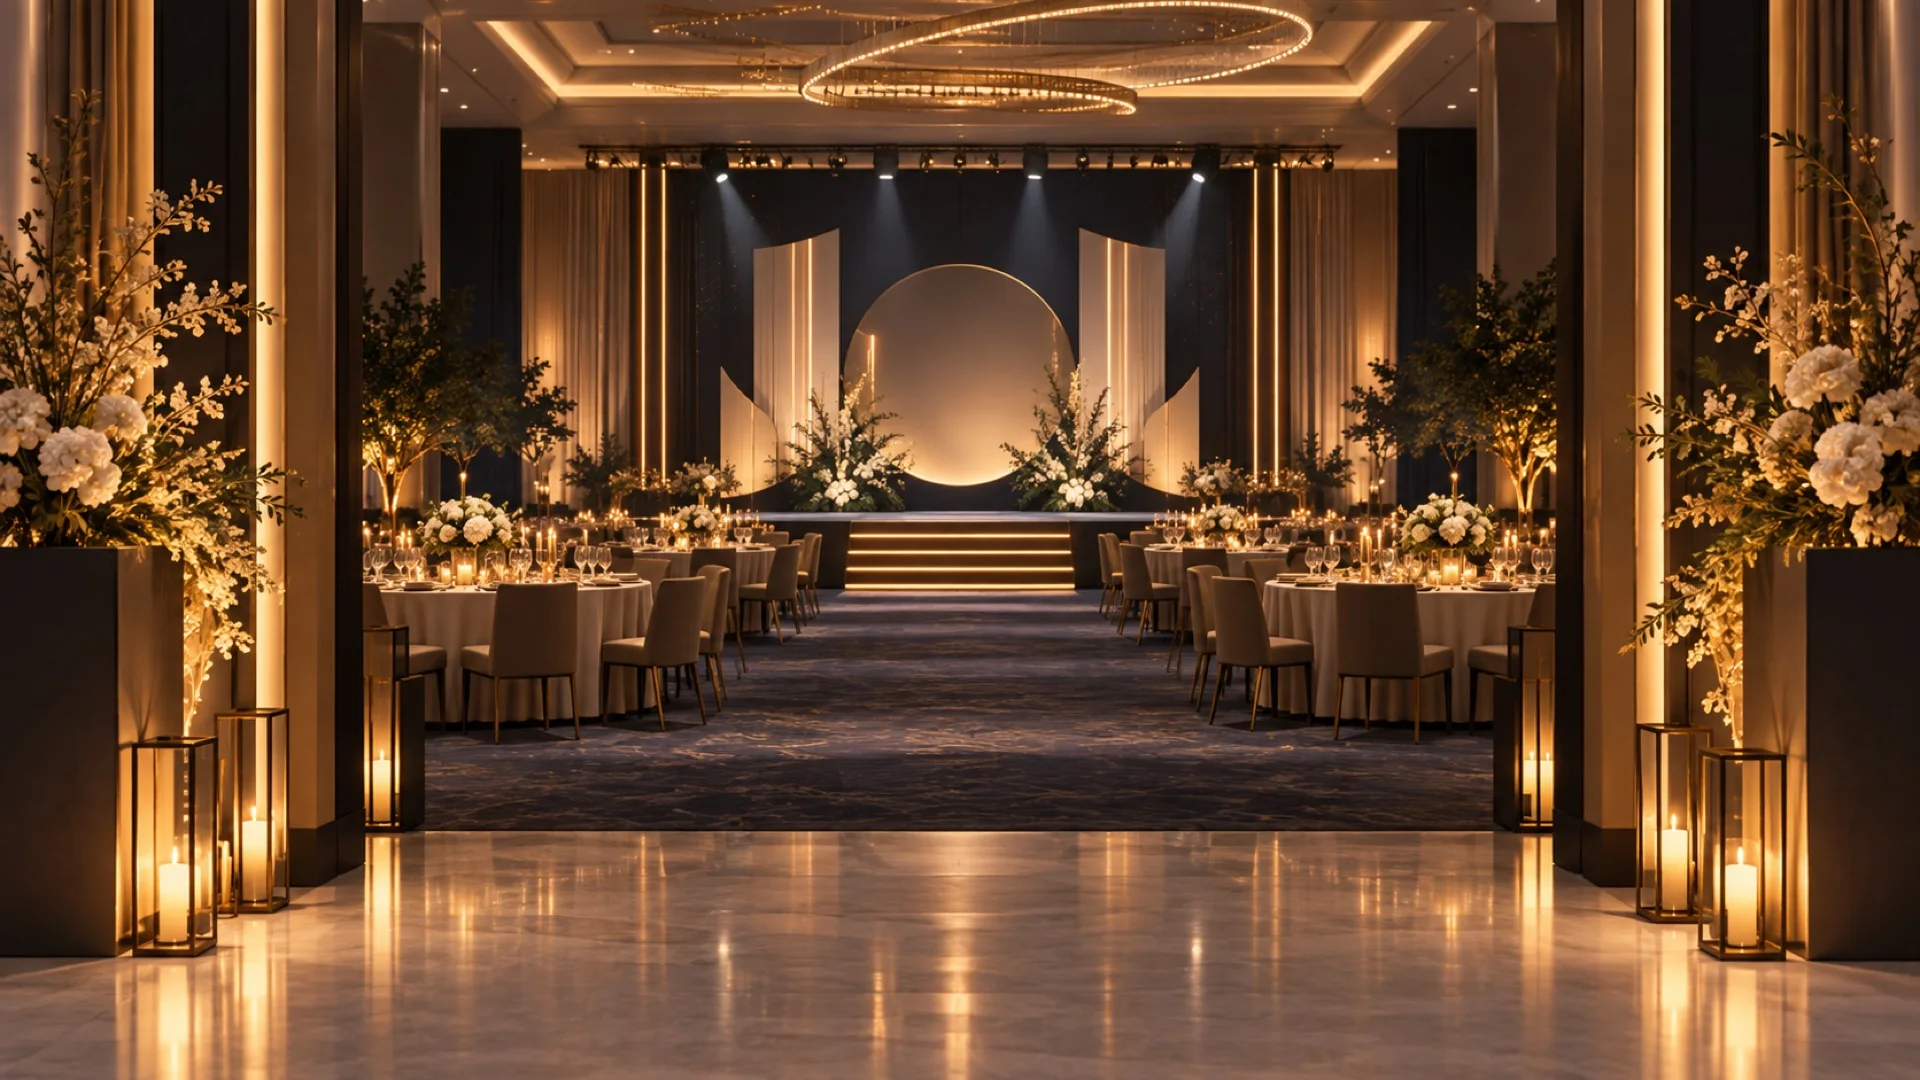
Build a corporate event styling brief that connects brand and purpose to arrival, stage, tables, lighting, venue rules and safe installation.
Start with the event purpose before choosing a look
An anniversary, awards dinner, launch and staff celebration ask guests to feel different things. Write the event purpose and audience first, then choose the visual direction that supports them. A moodboard is useful only when it helps the team decide what guests should notice on arrival, where they should gather and how the main programme should feel.
Name the level of formality and the role of the company brand. A celebration may use the brand as a subtle colour and material cue; a launch may need a more visible product or message moment. The styling brief should give this hierarchy so the design does not become a collection of attractive but unrelated references.
Translate brand and theme into a visual system
Define a small palette of colours, materials, textures and lighting moods. Show which elements come from the company's approved brand guidelines and which are event-specific. A consistent system helps the invitation, entrance, stage, tables and photography area feel connected even when different suppliers make them.
Be precise about logo use, approved wording and sign-off. Do not assume every surface needs a logo. If a theme is involved, describe the intended feeling and a few priority references rather than asking for a literal copy of another event. The design team can then propose an original direction that suits the actual venue.
Map the guest journey from entrance to stage
Walk through the event as a guest: first view, registration, entrance, room reveal, seat or activity area, stage and exit. Identify one or two statement moments where design should do the most work. An entrance treatment can set the tone, while the stage or backdrop must support presentations and photography without making speakers hard to see.
Tablescapes should look good at seated eye level and leave room for food, conversation and service. A photo moment should have practical lighting and enough waiting space. Ask the stylist to show how each focal point relates to the others rather than presenting isolated decoration items.
- Arrival and registration
- Entrance or room reveal
- Stage and backdrop
- Tables or activity zones
- Photography and farewell
Confirm what the venue allows
The venue determines what can be built safely and when. Request a floor plan, ceiling height, power information, loading route and installation window. Confirm rules for rigging, adhesives, open flame, haze, balloons, sound and access equipment where relevant. Check whether the venue has preferred suppliers or approval procedures.
A good concept must fit the room and its operating hours. If a statement installation would block a door, sightline or accessible route, the design needs another position or another form. Seek venue approval before commissioning a build whose dimensions or attachment method may change.
Balance the statement moment with guest flow
A striking stage or entrance is valuable only if guests can move comfortably around it. Protect registration space, food service routes, accessible paths and emergency exits. Consider where people will stop to take photographs; an unplanned crowd around a backdrop can block the actual entrance.
Spend visual effort where guests will encounter it and where photographs will be taken, then use quieter supporting details elsewhere. This gives the room a clear rhythm. Styling can feel more coherent with fewer well-placed elements than with many competing installations.
Plan construction, safety and breakdown
Ask who produces, transports, installs, checks and removes each element. The design should account for materials, stability, cables, power, venue approvals and the time needed to leave the space in the agreed condition. Clarify what can be reused or moved during the event and what requires a specialist crew.
Build the installation and strike schedule into the main run sheet. If the venue grants only a short window, the styling team may need a modular concept or a simpler build. Confirm the handover point at which the event lead signs off that the room is guest-ready.
What to put in the first styling brief
Share the event purpose, audience, date, venue, guest count, floor plan, programme outline, brand rules and reference mood. Identify the priority moments, approval team and any fixed budget direction. State which decisions are confirmed and which are open for design, so a proposal can be specific without pretending details are settled.
Happier's event décor and styling service page explains its in-house design and build offer. This article helps the client supply a brief that can become an intentional, venue-ready concept.
Planning your company event?
Tell us your date, headcount and what the event needs to achieve. We can plan an event around your people and your brand.
Plan your event